
Guide rail joints: the tolerances behind a clunk
October 29, 2026
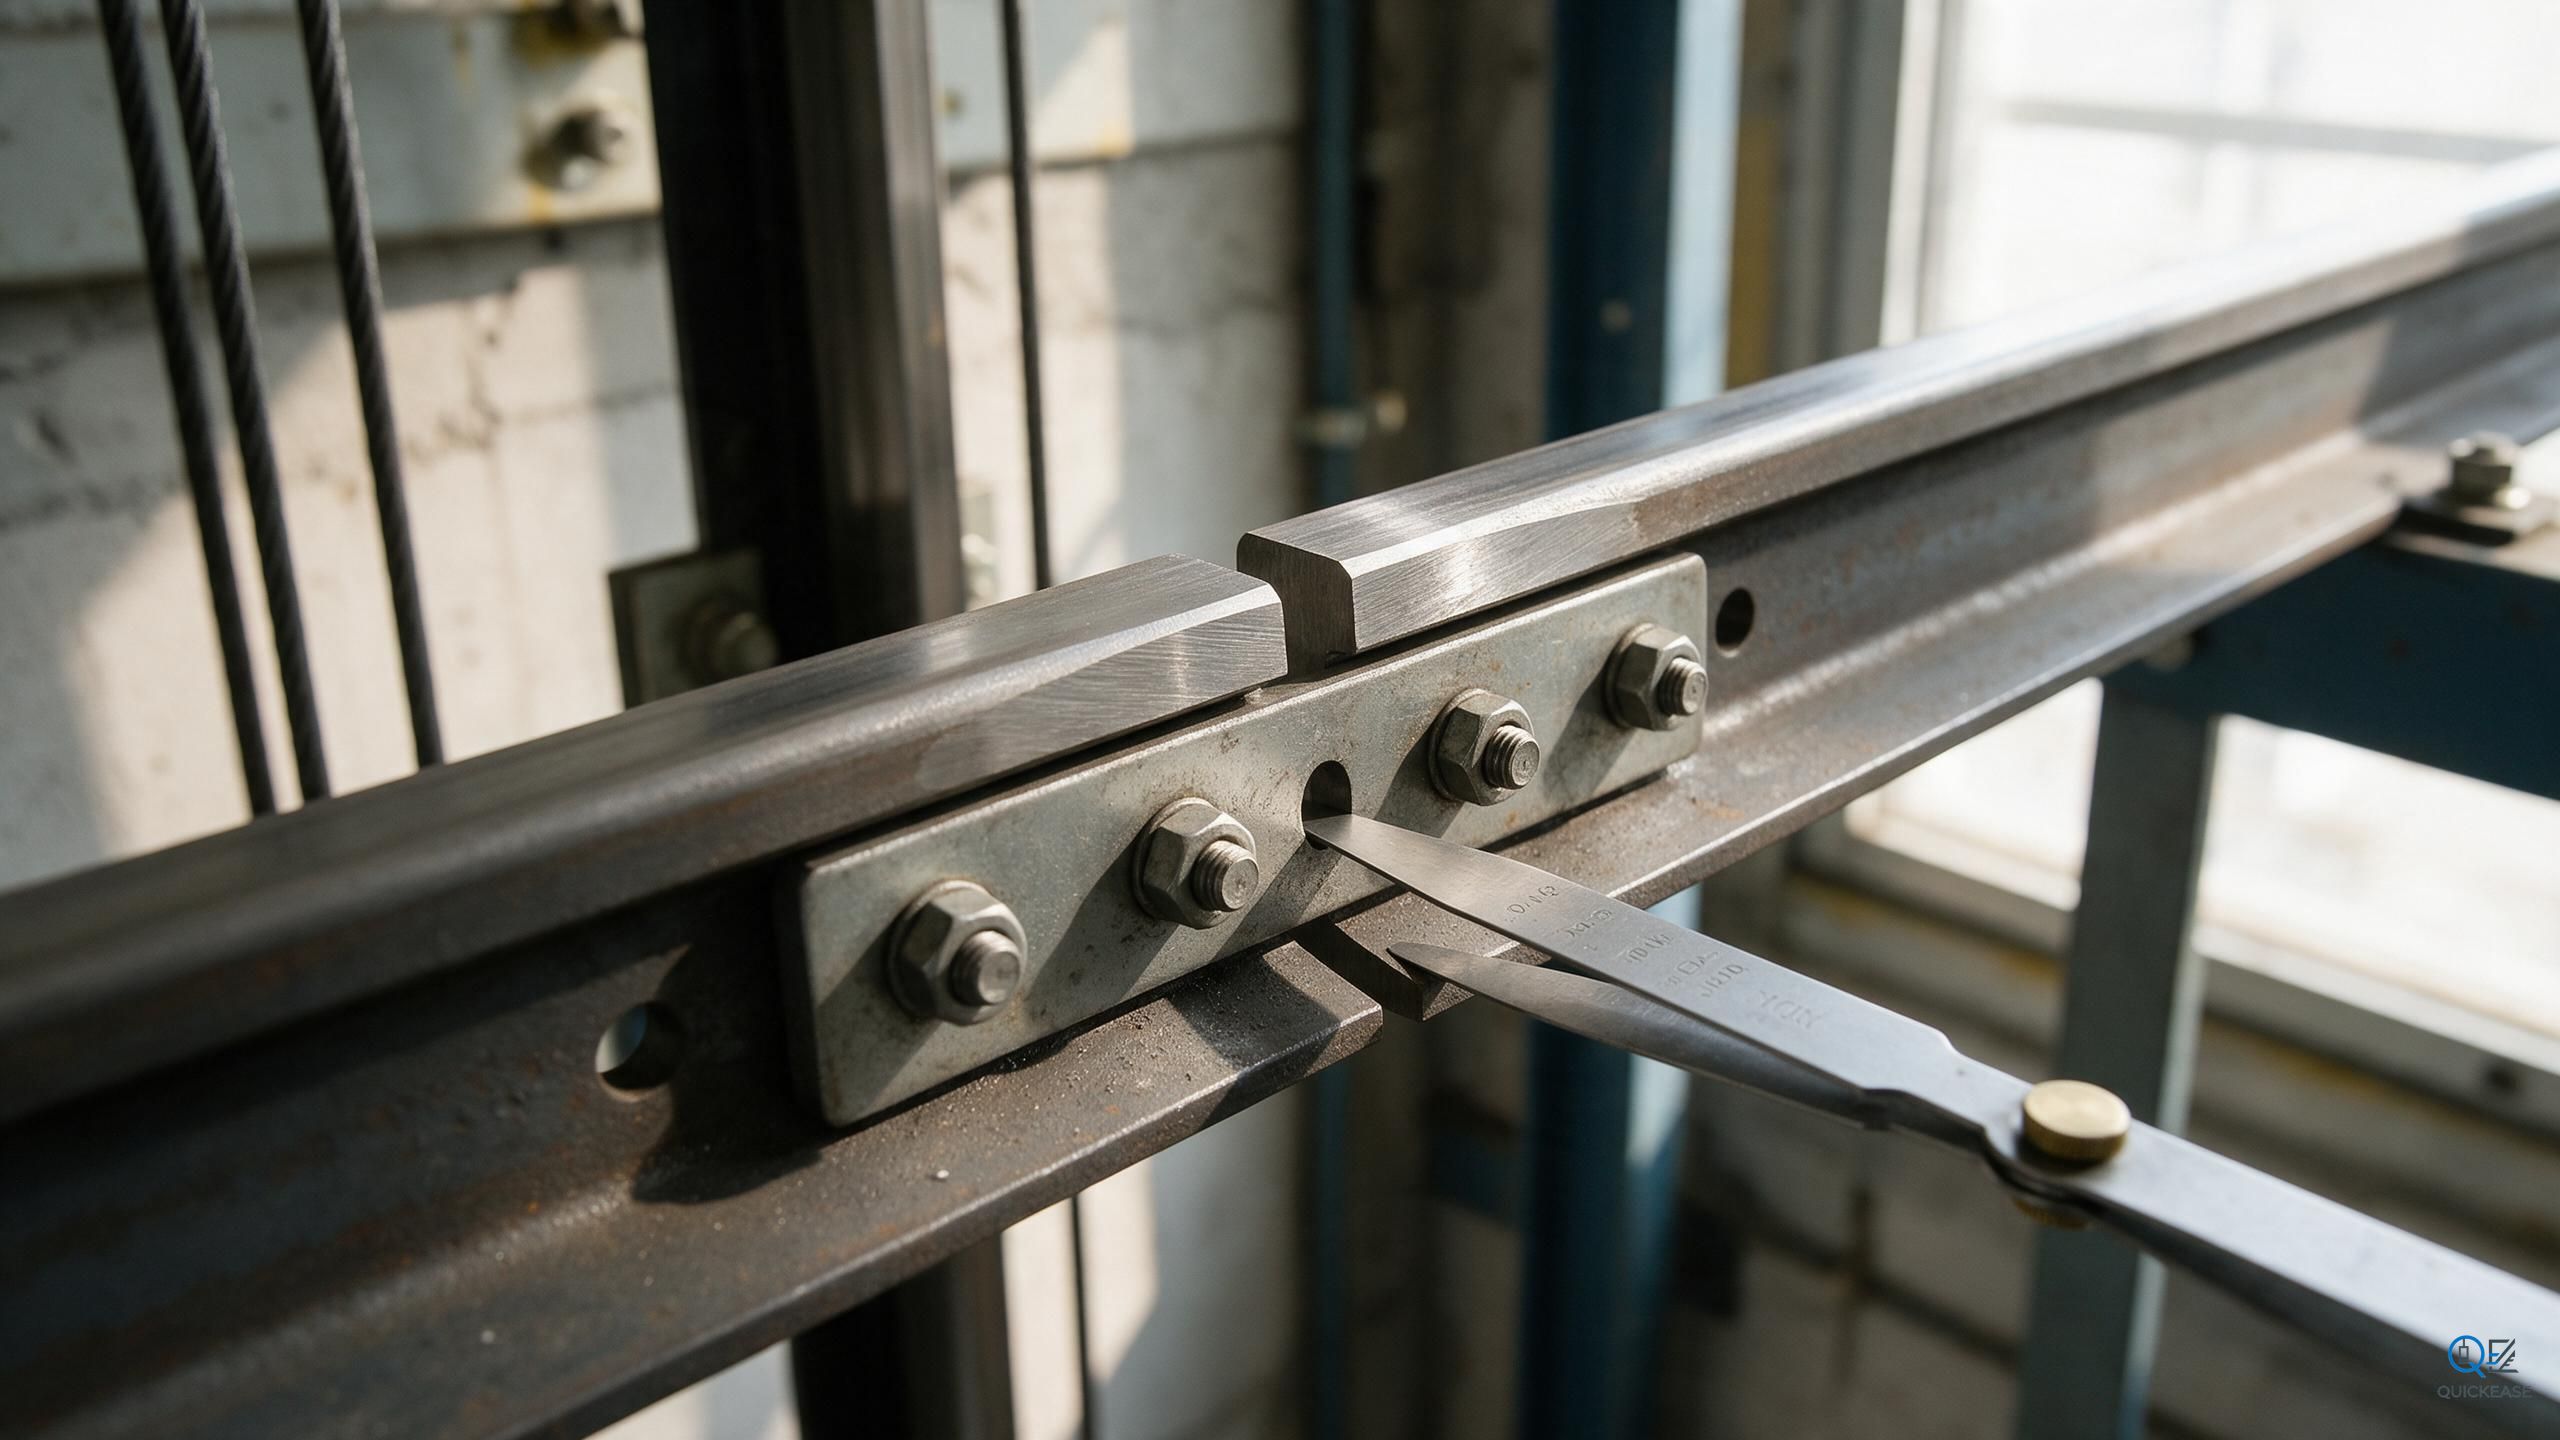
There is a particular complaint that comes from old buildings: a single clunk as the car passes the fourth floor, always the fourth floor, both directions. The car is otherwise smooth. The rollers look fine. The guide shoes have even wear. Nobody can find it, so it gets called "normal".
It is not normal. It is a rail joint, and it is measurable.
Guide rails are supplied in lengths of about five meters and joined with fishplates and bolts. The joint is a precision fit: two machined ends, a fishplate on the back, bolts torqued to a specification. When the joint is right, the car rolls across it and nothing happens. When it is wrong, the roller or the shoe hits a step, the car jumps a millimeter, and the passenger hears a clunk.
Three things go wrong at a joint, and they are easy to separate with a straightedge.
A step between the two rail ends, in the direction of travel. Put a straightedge along the running surface across the joint and check with a feeler gauge. A step of half a millimeter is enough to feel through the car floor; a millimeter is audible. The usual cause is a burr on the end face, dirt or paint between the fishplate and the rail, or a fishplate that was tightened with the rails out of line.
A gap between the ends. Hold the straightedge across the joint and look for light. A gap of a millimeter or two is normal on a cold day and closes when the rail warms up, which is why outdoor and glass-shaft installations need expansion allowance. A gap that is present at every joint in the shaft means the rails were cut short, and the shaft is going to complain every summer.
A kink in the horizontal plane. The rails can be perfectly aligned vertically and still be out of line sideways, which shows up as a side-to-side shimmy rather than a clunk. Check with a taut line or a laser along the rail face, or with a rail gauge that holds the two rails at the correct distance apart.
Before adjusting anything, check the bracket. Rails are held by brackets bolted to the shaft wall, with shims behind them, and a bracket that has come loose or lost its shim will let the rail move under load. Put a hand on the bracket and rock the car by hand; a bracket that moves is the fault, not the joint. Building settlement shows up here first, especially in older shafts where the wall has moved and the bracket has been shimmed twice already.
Then the bolts. Fishplate bolts are usually grade 8.8, and they are often found finger tight or replaced with whatever was in the van. Check the thread for stretch, check the washers, and torque to the OEM figure in the sequence the manual gives, usually from the center of the fishplate outward. Overtightening distorts the fishplate and puts a step in the rail; undertightening lets the joint work and wear the bolt holes oval.
The order of work matters. Loosen both joints either side of the problem, align the rail with clamps, check the step and the gap, then torque the fishplates, then re-check the bracket bolts. If you torque first and align second, the rail will spring back when you let go.
Rail spacing gets checked at the same time, and it is the dimension most often out of spec on a shaft that has been worked on by several companies. The two rails have to be parallel and at the correct distance apart for the car frame, within a couple of millimeters over the full travel. A rail that drifts outward by five millimeters over thirty meters produces a car that rubs on one side only at the top, and the guide shoe on that side wears into a wedge. Check with a rail gauge at three heights, and check the counterweight rails too, because a counterweight that rubs is a noise nobody can locate.
There is one more cause that gets missed: the rail itself. A rail that has been hit by a loader in the pit, or bent during installation, will have a permanent kink that no fishplate adjustment fixes. Run a straightedge along the full length, not just at the joint. A rail with a bend needs replacing, and on a single-rail run that is a bigger job than the maintenance contract expected.
After the alignment, run the car with a full load and an empty car and listen at the same floor. The clunk should be gone in both directions. Then check the guide shoes and rollers for flat spots, because a car that has been running over a step for two years has worn the roller in one place, and the new smooth joint will feel like a rumble until the roller is replaced.
Rail lubrication is a separate argument. Roller guides do not need grease on the running surface and grease attracts dirt; sliding shoes need lubrication, and the wrong grease in a dusty shaft makes a paste that wears the shoe faster. Follow the guide manufacturer, not the habit of the last mechanic.
Write the joint locations and the corrections in the maintenance book, with the date and the measured step. In a shaft with thirty joints, knowing which four have been worked on saves the next person an hour of walking.