
Hydraulic power unit valves: identify before you order seals
October 29, 2026
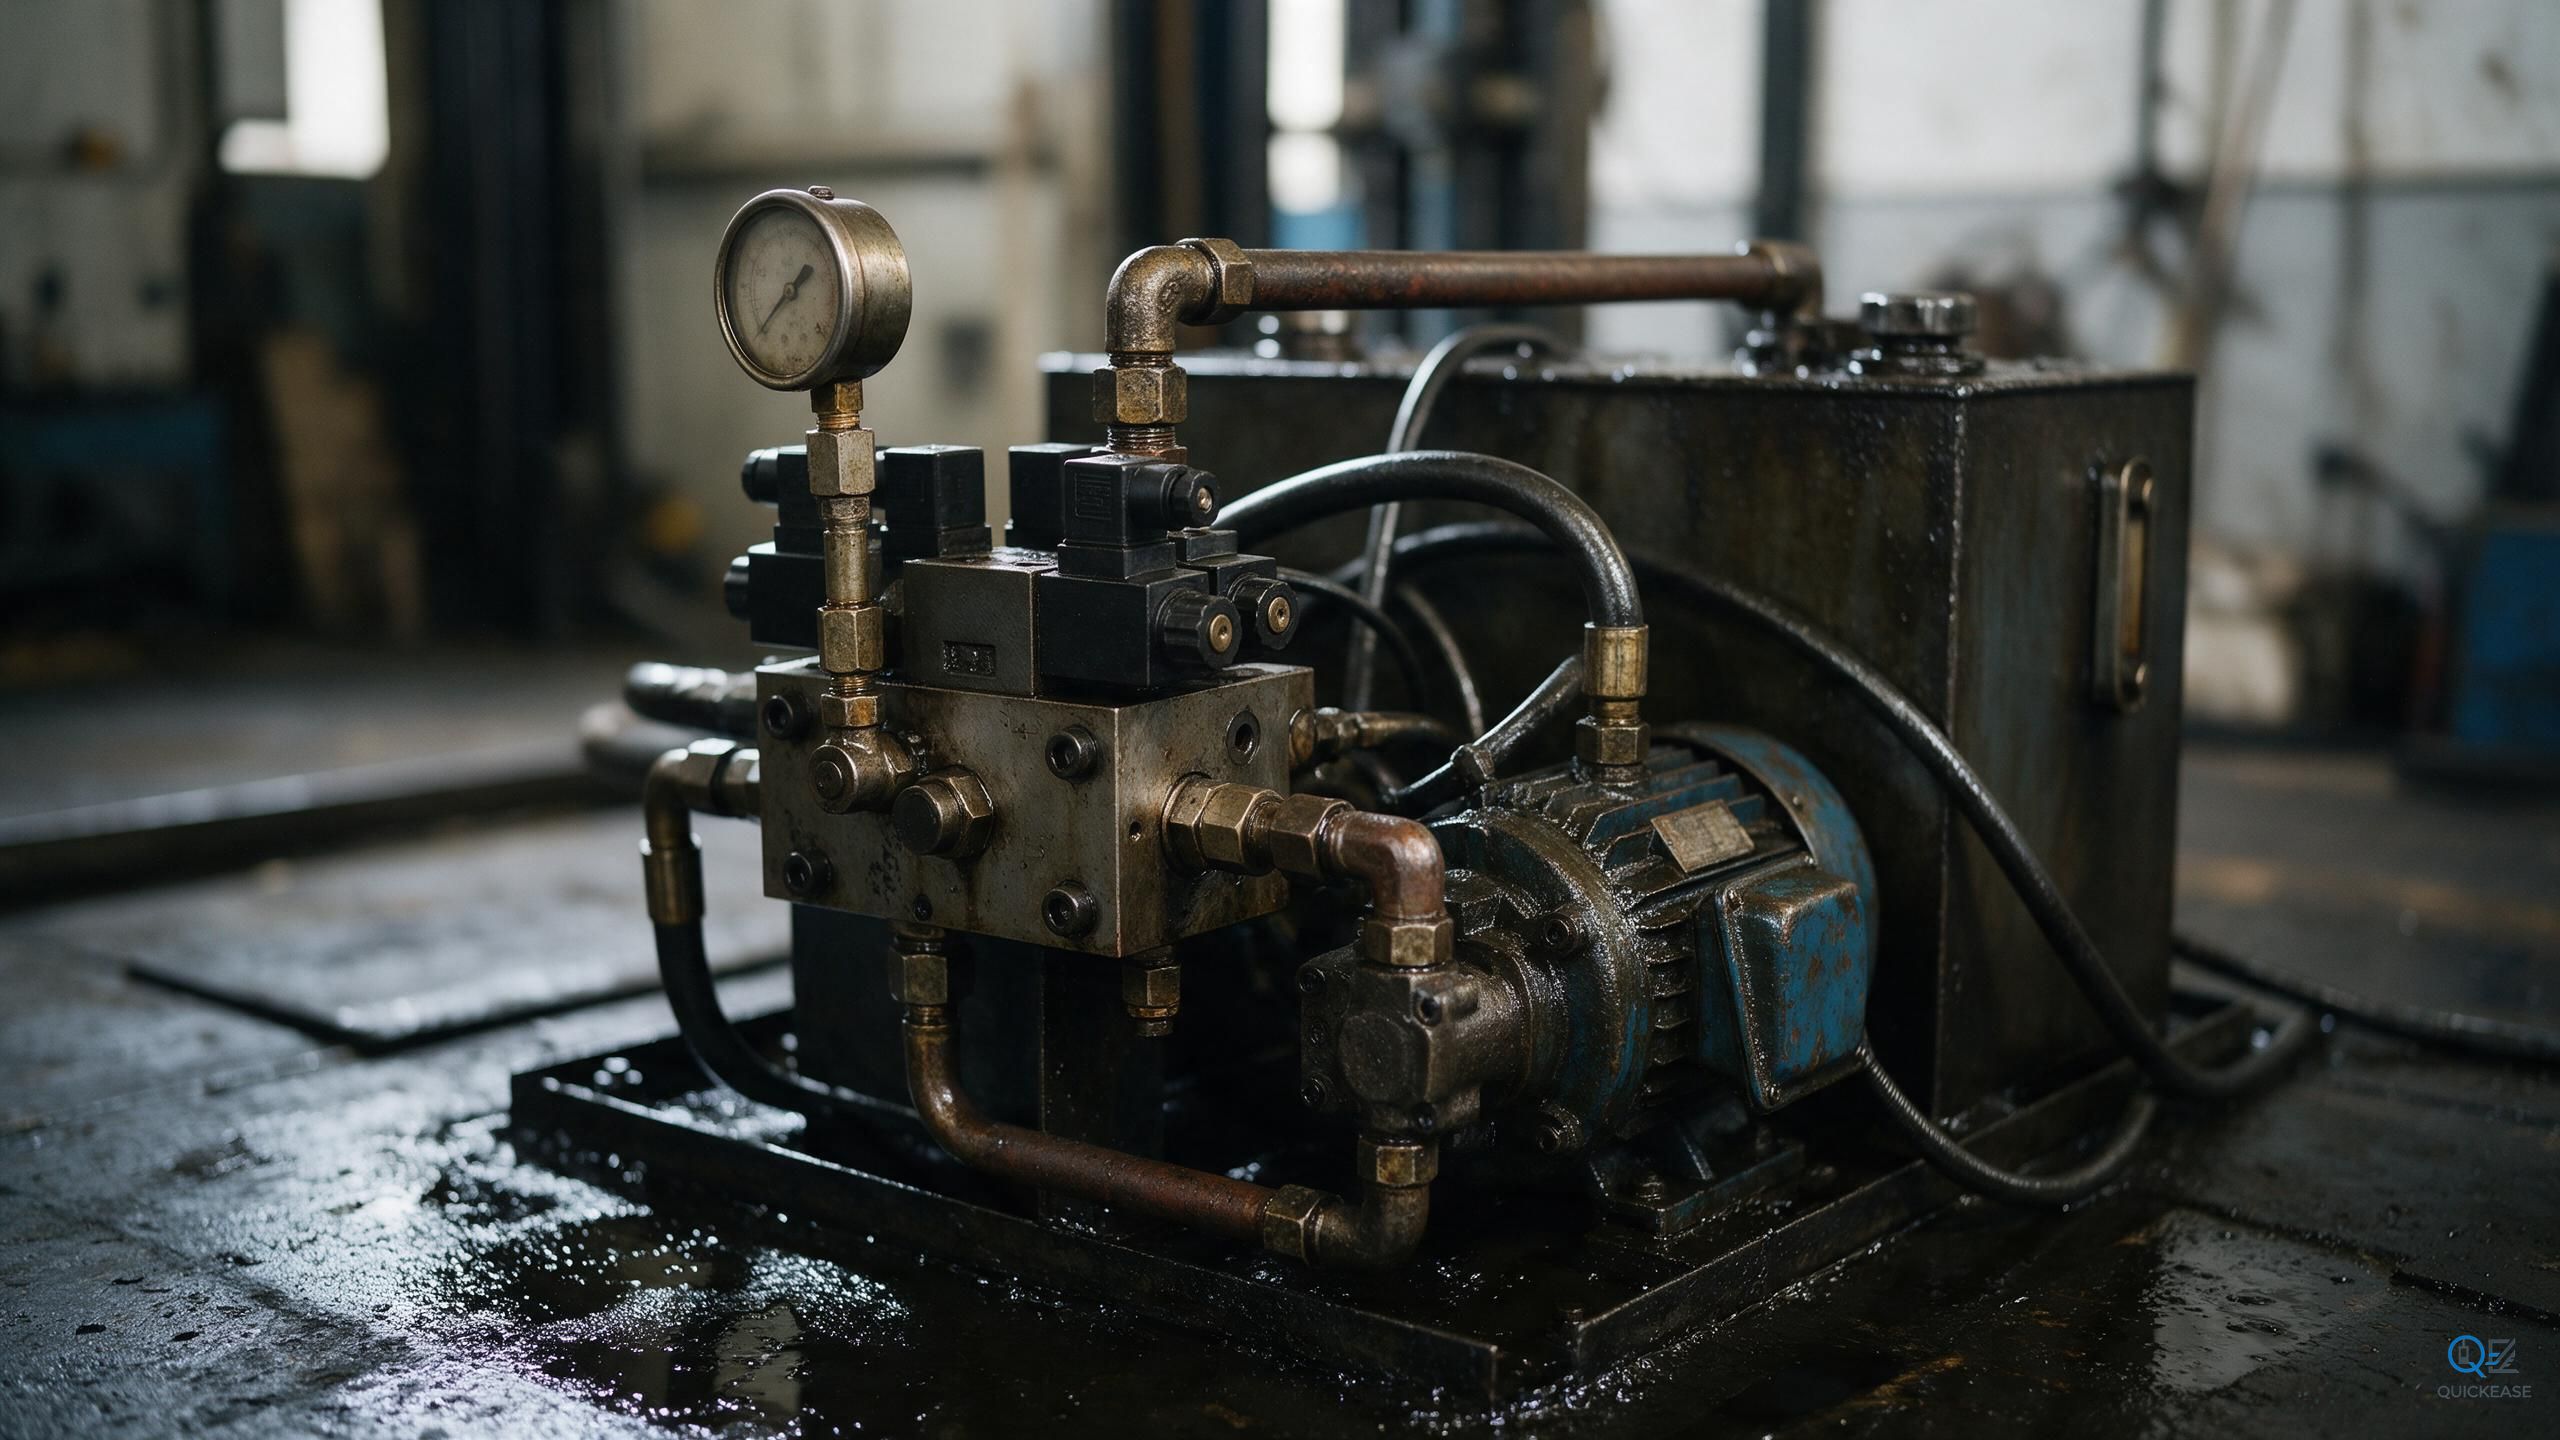
Hydraulic elevators are simple in principle and fussy in practice. The car goes up because oil is pushed into the jack, and it comes down because oil is allowed out. Everything that goes wrong lives in that second sentence.
A power unit is a tank, a pump driven by a motor, and a valve block that does four jobs: it lets oil into the jack, holds it there, lets it out at a controlled rate, and gives up if the pressure gets too high. Around that block sit a manual lowering valve, a rupture valve on the line to the jack, a flow control or muffler, and on some units a pressure gauge and a filter. The jack and the hoses are the rest of the system.
Diagnosis starts with the symptom, because each symptom points at one part of the block.
The car creeps down when it is parked. In order of likelihood: the down valve does not seat, the check valve has debris on the seat, or the manual lowering valve is not fully closed. A creep that stops after a few centimeters and holds is usually a check valve with a piece of dirt on the seat; the pressure pushes the dirt aside and it seals. A creep that continues slowly and steadily is usually a worn down valve seat or a scored spool.
The car is slow going up. Look at the relief valve setting first, then the pump. A worn pump loses volume as the oil warms, so the symptom gets worse in the afternoon and better in the morning. A relief valve that has been adjusted by three people is a common finding, and the correct setting is in the OEM manual, not in someone's memory.
The car jerks on the way down. Air in the system, a sticky down valve, or a blocked muffler. Air shows up after a jack seal change, a hose replacement, or a low oil level that let the pump pull air. The muffler is a small part that clogs with sludge and is replaced more often than it is cleaned.
The unit is noisy. Cavitation from a blocked suction strainer, a loose pump coupling, or air in the oil. Cavitation sounds like gravel and it destroys the pump, so fix the strainer before the pump.
The oil gets hot. Something is bypassing: relief valve, check valve, or a down valve that never fully closes. Heat is the symptom that turns a small leak into a seal failure, because every ten degrees above the design temperature halves the life of the oil and the seals.
Now identification, which is where most parts orders go wrong. Hydraulic valve blocks come from a handful of manufacturers and a long list of small ones, and they all look similar in a photograph taken from the front. You need the casting number on the block, the coil voltage and resistance, and the orifice size if there is a restrictor in the circuit. Coils are marked with voltage and often with a wattage; measure the resistance across the coil and compare. A 24 V DC coil and a 110 V AC coil can look identical, and fitting the wrong one either does nothing or burns the valve.
Seal kits are matched to the valve body, not to the elevator brand. The same elevator manufacturer used three different blocks over ten years, and the tank label will not tell you which one you have. Photograph the block from three angles, including the underside, and read every number on it. If there is a manufacturer plate, photograph that too.
Oil compatibility is the trap that shows up three months later. Mineral oil, glycol, and bio oils need different seal materials. A seal kit made for mineral oil will swell and soften in a bio-oil system, and the failure looks like a manufacturing defect. Ask what oil is in the tank, check the color and smell if the records are missing, and match the kit to the oil, not just to the valve.
Before any of this, block the car. A hydraulic elevator is held up by oil pressure, and a valve that is being removed is a valve that is not holding. Use the mechanical stops or the jack blocking, not the maintenance switch, and never work under a car that is held by a closed valve alone. Relieve the pressure at the manual lowering valve and confirm with the gauge that it is at zero before you crack a fitting.
The jack is the other half of the system, and its packing is a wear part. A jack that weeps at the top gland, or a car that sinks slowly only when it is fully extended, points at the packing rather than the valve block. On a telescopic jack there are more seals than the drawing suggests, and replacing one stage without the others usually produces a leak at the next stage within a year. Check the jack with the car at the top and at the bottom, and note whether the leak follows the extension.
Oil condition tells you a lot for free. Drain a little from the sampling point into a glass jar and let it settle. Water sits at the bottom as a separate layer, and milky oil means water is already emulsified in it. Grit settles as a fine layer, and a metallic sheen means the pump is wearing. Any of these means the oil is changed before the valve work, not after, because new seals in dirty oil fail the same way the old ones did.
When the unit is back together, bleed it properly. Run the car up and down through the full travel several times, with a light load, and check the oil level after each cycle. Then check the creep again with the car at the top landing and at the bottom, because creep rate changes with jack extension and a seal that holds at the bottom can leak at the top.
Write the valve body number, coil voltage, oil type, and tank capacity on a card and tape it to the inside of the tank cover. The next person to open that unit will be able to order the right parts without draining the system to find a number.