
Fitting an escalator handrail splice that lasts
October 29, 2026
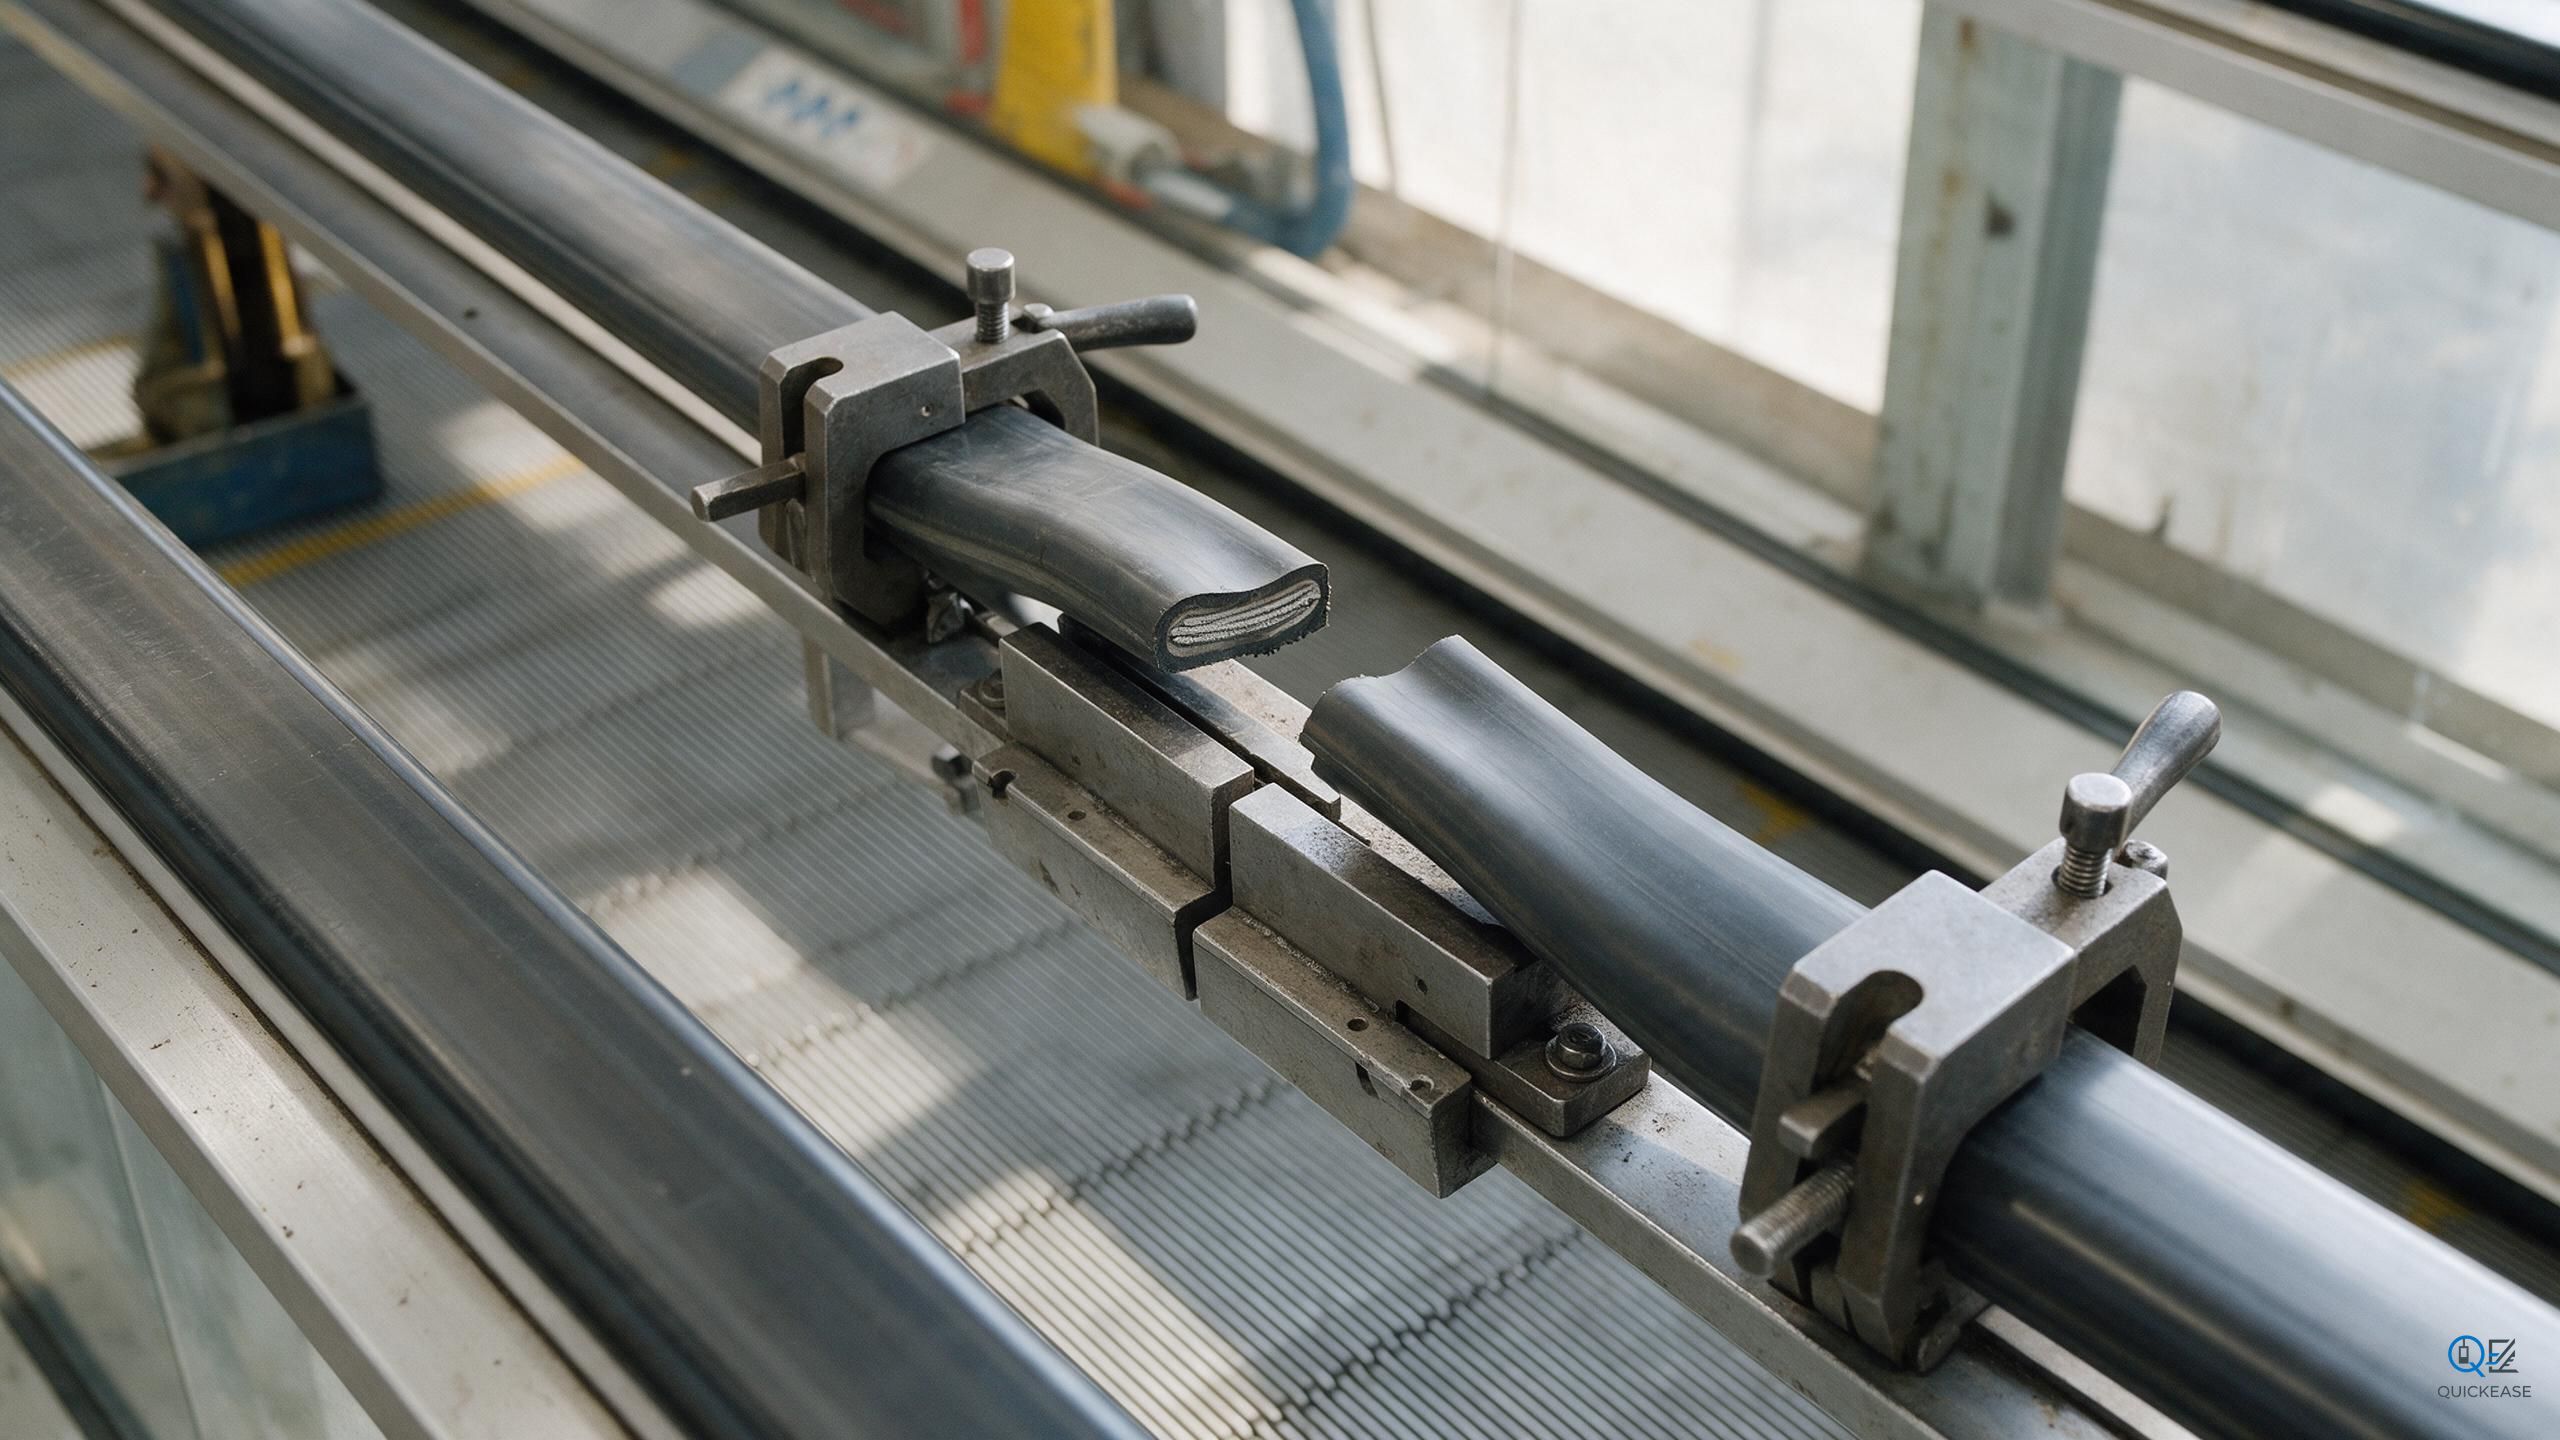
Handrail splices are one of those jobs that look easy and punish people who treat them that way. Two ends of a rubber belt, a jig, some adhesive, twenty minutes. Then eleven months later the splice opens at the leading edge, the handrail catches on the newel, and the escalator is out of service until someone can get a new handrail.
The splice is the weakest point in the handrail by design. The belt is a rubber or thermoplastic body with steel cords or polyester cords running through it, and the cords carry the tension. A splice joins the cords mechanically, with a metal staple or a clamp, or it joins the rubber by vulcanizing the two ends together with heat and pressure. The mechanical splice is faster and needs less equipment. The vulcanized splice is stronger and lasts longer, and on a busy installation it is the only version worth doing.
Position matters more than people think. A splice should sit on a straight run, ideally on the incline, away from both newel wheels and away from the curve where the handrail changes direction. The reason is simple: at the newel wheel the handrail is bent around a small radius and the splice sees the highest bending stress. Put the joint on the curve and you have put the weakest part of the belt where the strain is highest. If the handrail length forces the splice onto a curve, change the length so it does not.
The cut has to be square, and square means square in both planes. A cut that is one millimeter off along the length leaves a step at the surface, and the step becomes a crack, and the crack becomes an open splice. Use the cutting jig that matches the handrail profile, not a knife and a steady hand. Mark the profile with a wrap of tape before cutting, and check the cut against a square before you glue anything.
Cleanliness decides the bond. Mold release agent, silicone spray, and the oils from a hundred thousand hands all sit on the surface and all of them stop the adhesive from bonding. Scuff the bonding faces, then clean with the solvent the adhesive manufacturer specifies, then handle the faces with gloves. Touching the bonding surface with a bare finger is enough to contaminate it.
For a cold splice, follow the adhesive's open time and clamp time exactly, and keep the joint under pressure for the full cure. Most cold splice failures I have seen were clamped for ten minutes and put back in service after an hour. The adhesive had not reached full strength, the joint crept, and the creep opened the gap.
For a hot splice, the temperature and pressure matter more than the time. Most handrail compounds vulcanize around 150 to 160 degrees Celsius, and the press has to hold that temperature across the joint while the rubber flows. A press with a cold spot at one end produces a splice that looks fine and fails at that end. Check the platen temperature with a contact thermometer, not the dial on the controller.
Tension is the other half of the job, and it is where "by feel" causes the most damage. A handrail that is too tight stretches, thins at the splice, and loads the newel wheel bearings. A handrail that is too loose slips on the drive wheel, wears the inner surface, and can jump the guide. The tension carriage has a setting; use it. Then check the handrail speed against the step speed. The handrail should run at the same speed as the steps or up to two percent faster, never slower, because a slower handrail pulls the passenger backward.
Cold weather changes the job. Rubber gets stiffer, adhesive takes longer to reach strength, and a handrail measured in a cold shaft will be short once the building warms up. Do the splice at normal building temperature if you can, and if you cannot, extend the clamp time and keep the joint warm overnight. A splice made at three degrees Celsius and loaded an hour later is a splice that is going to creep.
The drive side is part of the same job. The handrail is pulled by a drive wheel, usually lined with polyurethane, and the wheel grips the inner surface of the handrail. A glazed or worn drive wheel slips, and a slipping wheel heats the handrail and polishes the splice. Check the wheel surface and the pressure roller while the handrail is off, and check the tension carriage travel: if it is near the end of its adjustment, the handrail has stretched and a new one is the right answer, not a tighter setting.
After fitting, run the escalator for half an hour and watch the splice go round. Then stop it with the splice at the top newel, and look at the joint under load. A splice that is opening will show a hairline at the surface. Mark the splice with the date and the fitter's initials so the next inspection can find it.
Handrail condition is worth a separate look while you are there. The inner surface cracks first, especially where the handrail bends around the newel wheel. Cracks longer than a few millimeters, exposed cord, or a handrail that has hardened and lost its grip are all reasons to replace rather than splice. A splice in a handrail that is already at the end of its life is money spent twice.
Finally, the guide rollers and the newel wheel. A worn guide roller lets the handrail run off center, which puts a side load on the splice every time it passes. If you replace a handrail and the new splice fails in a year, check the rollers before you blame the splice.