
Traction sheave groove wear: measure before you machine
October 29, 2026
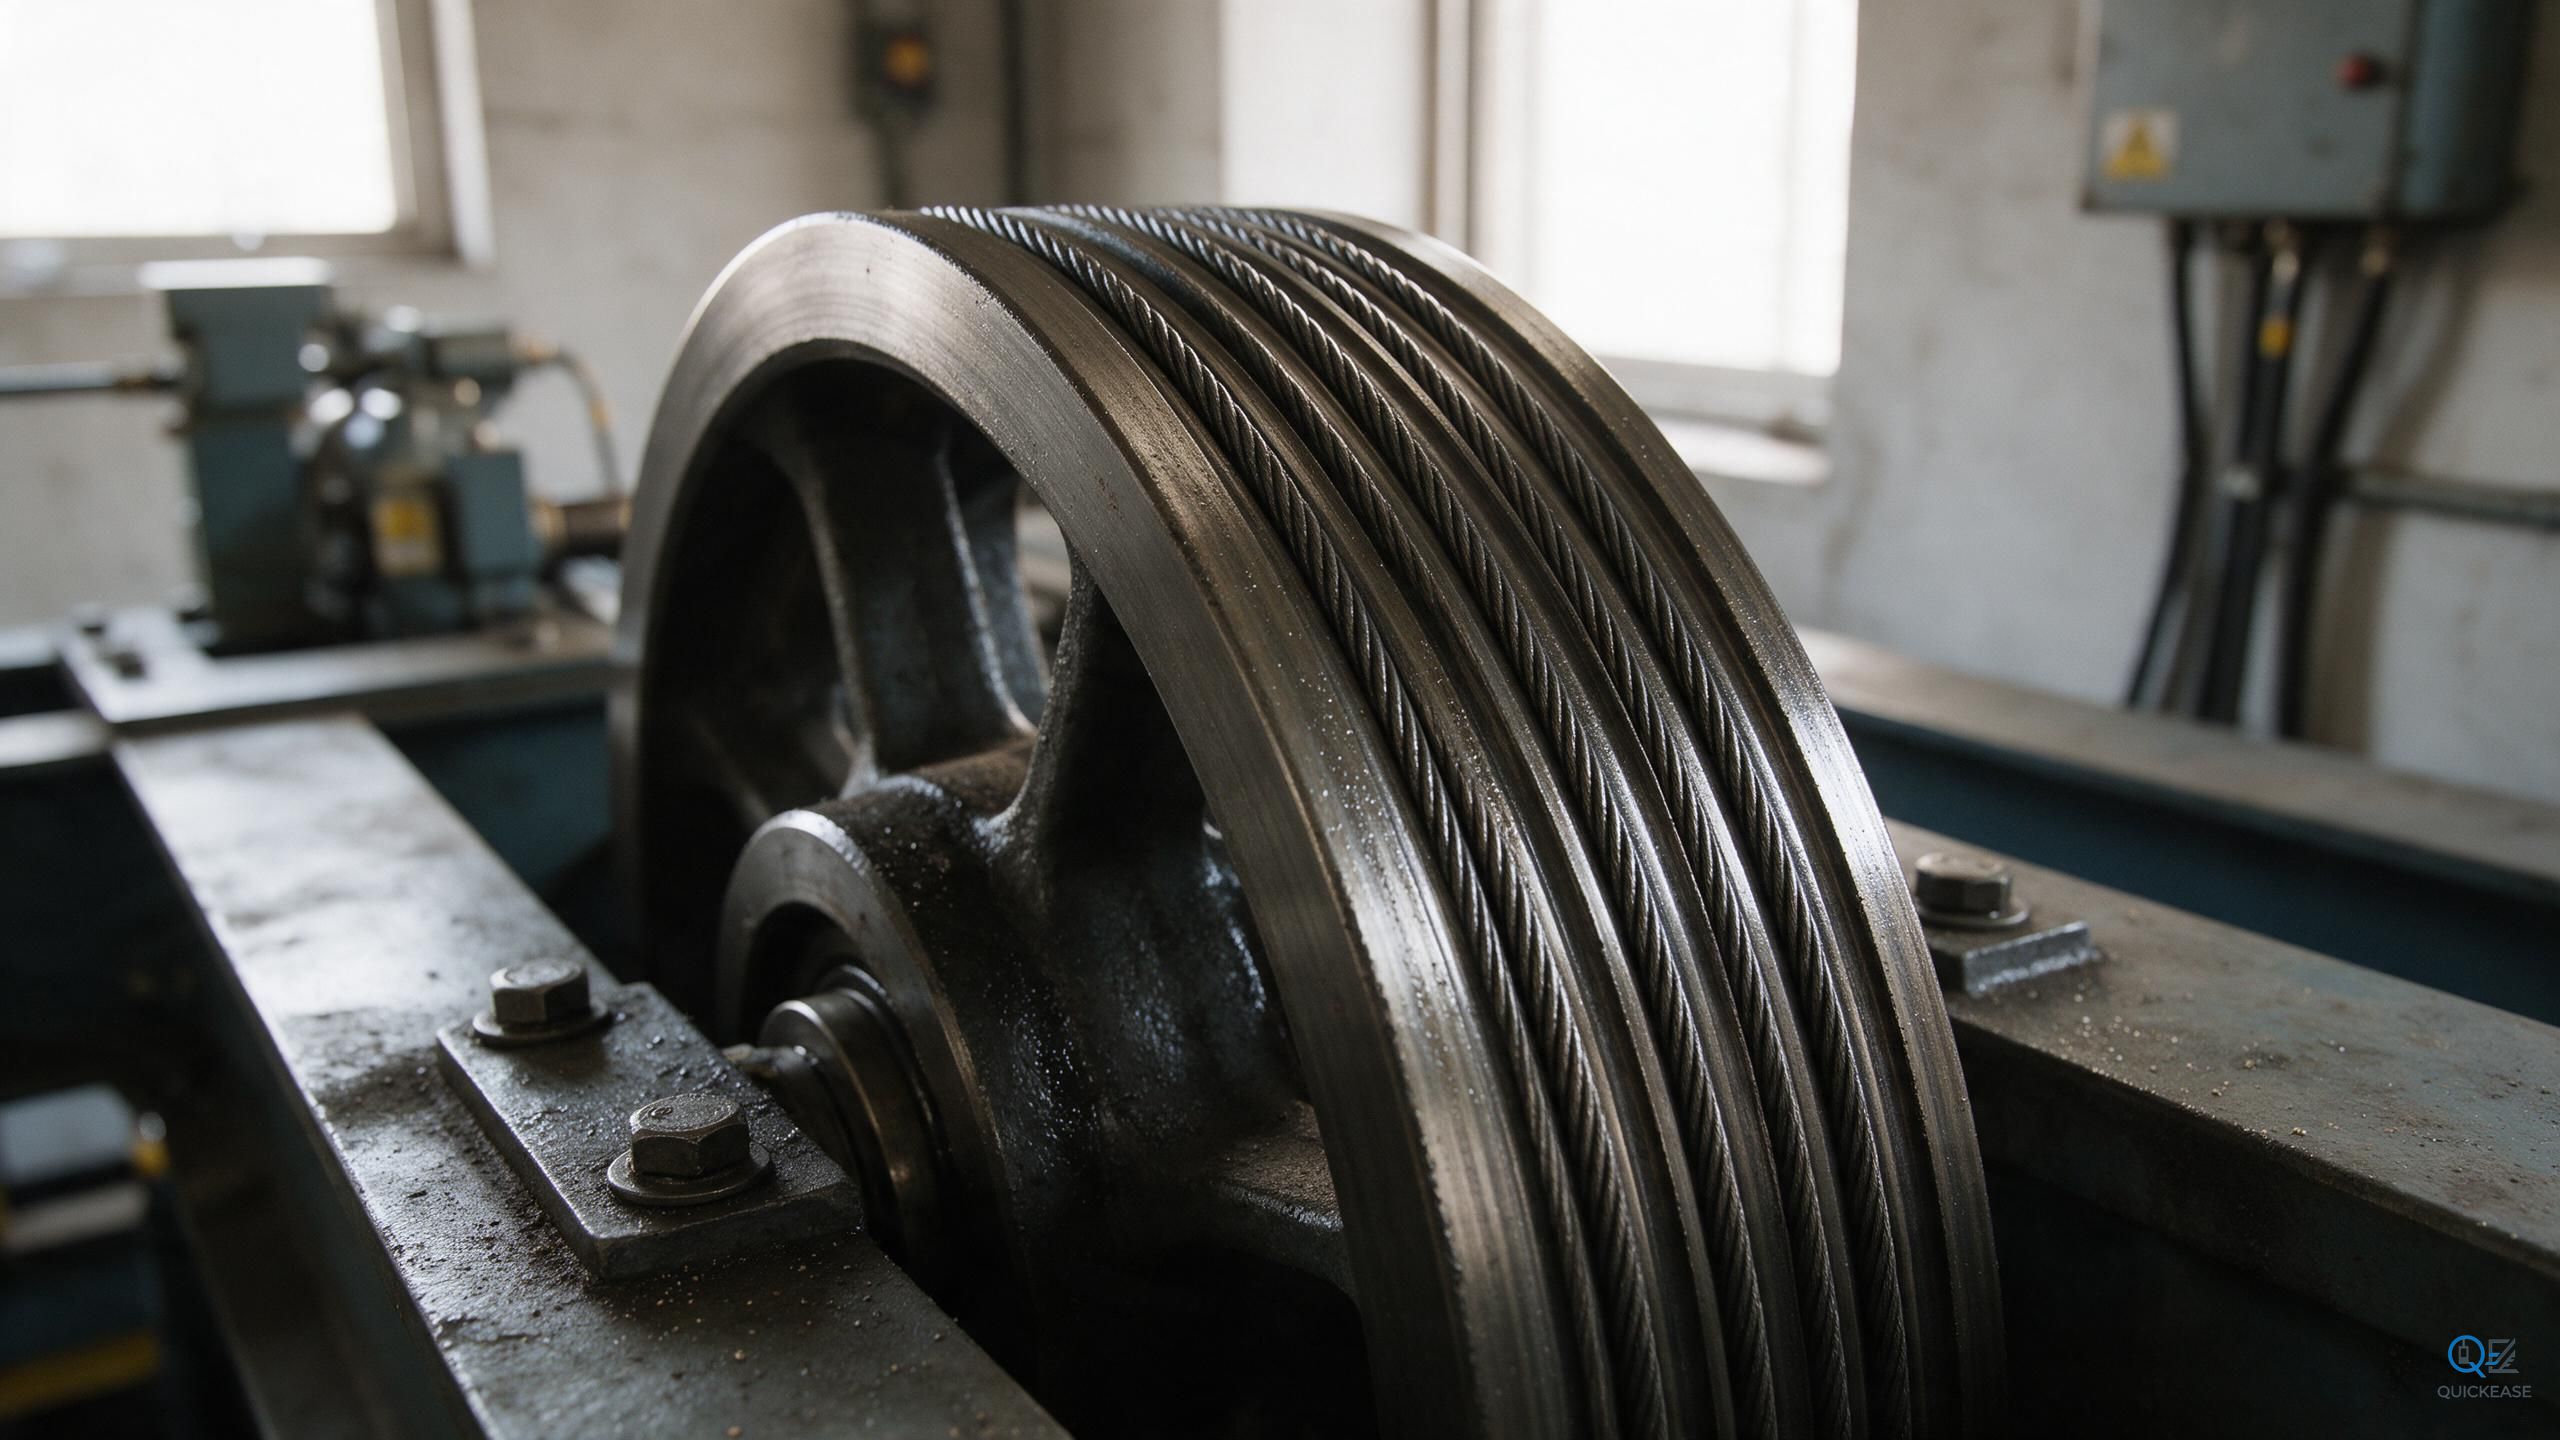
A building manager reports that the car stops two centimeters low with a full load, and only with a full load. Empty, it levels perfectly. The maintenance company adjusts the brake, replaces the encoder, and checks the drive parameters. Two months later the same complaint, now with a shudder at start.
That pattern is classic loss of traction, and traction is a geometry problem before it is an electronics problem. The rope sits in a groove on the sheave. The groove profile, the rope diameter, and the load between them decide how much force the sheave can transmit before the rope slips. When the groove wears deeper, or wider, or the rope wears thinner, the contact pressure drops and the safety margin goes with it.
Grooves come in a few shapes. A U-groove is a semicircular channel that relies on the rope's own stiffness. A V-groove, or undercut groove, has angled flanks that squeeze the rope and give more traction for the same load, at the cost of faster rope wear. Coated sheaves for machine-room-less units use a polyurethane lining on a steel hub, and the lining is a wear part in a way that cast iron is not. Know which one you have before you order anything, because the wear limits are different.
Measuring starts with a groove gauge, and most maintenance crews do not have one. You can make a serviceable substitute from a short length of the correct rope, or from a piece of soft solder pressed into the groove. Press it in, pull it out, measure the imprint with a caliper. What you want is the groove depth below the original outside diameter, and the groove width at the original diameter line. Compare with the sheave drawing. If the drawing is lost, compare with the sister sheave in the second car, if the building has one and it has not been machined.
Measure in at least three places around the circumference, ninety degrees apart. Wear is not always even. A sheave that has run for years with one rope tensioned higher than the others will show a deep groove in one position and a shallow one opposite. If the difference is more than a millimeter, the sheave also has a balance and alignment problem, and machining it will not fix that.
Measure the ropes on the same visit. Rope diameter is measured across the crowns, not in the valleys, with a caliper, in two directions ninety degrees apart, at a straight section away from the termination. A rope that has lost ten percent of its nominal diameter is at the end of its life by every standard I know, regardless of how many wires are broken. A rope that is undersized, even by five percent, sits deeper in the groove and reduces the contact angle. That is often the real cause of "the sheave is worn out".
Then look at the sheave itself, not just the groove. Check the bearing for play with the ropes unloaded, check the sheave for runout with a dial indicator, and check that the ropes are running in the groove and not on the flange. A rope climbing the flange leaves a polished stripe on the side of the sheave and chews the groove edge. That is an alignment fault, and a new sheave will do the same thing.
Now the decision. Machining is viable when the groove has lost its profile but the sheave still has material: the undercut is intact, the flange is not worn through, and the OEM drawing still allows a cut. The machinist needs the groove profile and the original diameter, and the work has to be done on a machine that can hold the profile, not with a hand grinder. After machining, the surface is fresh and the contact pattern changes, which means the ropes have to bed in again. If the ropes are old, they will not bed, and you will have a sheave that measures perfect and slips worse than before.
So the practical rule, after fifteen years of this: if the ropes are within two years of their replacement interval, replace the ropes and machine the sheave in the same shutdown. If the ropes are new and the sheave is worn, machine the sheave and accept a short bedding period. If both are worn, replace both. Mixing a new sheave with old ropes is the combination that produces the most callbacks.
There is also the case for doing nothing. Slight groove wear with no slip symptoms, no leveling complaints, and clean rope condition is not an emergency. Measure it, log it, and look again in six months. What you are watching for is the rate of change, not the absolute number. A groove that has worn 0.3 mm in ten years is fine. One that has worn 0.3 mm since March is telling you something about rope tension, sheave alignment, or a load the machine was never designed for.
Secondary sheaves deserve the same treatment and usually get none. The deflector sheave under the machine, the diverter sheave on a basement layout, and the counterweight sheave all wear the same way, and a worn deflector changes the rope path enough to make the main sheave wear unevenly. On a two-to-one roping arrangement there are more sheaves than most maintenance sheets list, and every one of them is a wear point. Count them on the drawing before you decide the main sheave is the only problem.
Finally, take the dust seriously. Black powder around the machine room floor and on the sheave guard is rope and groove material. It means the pair is wearing, and it means the groove profile is changing. Clean it up, measure, and write the date on the sheave guard. Six months from now that date is the only evidence anyone will have of what the machine looked like before the complaints started.