
Car button retrofit: voltage, contacts, and hidden traps
October 29, 2026
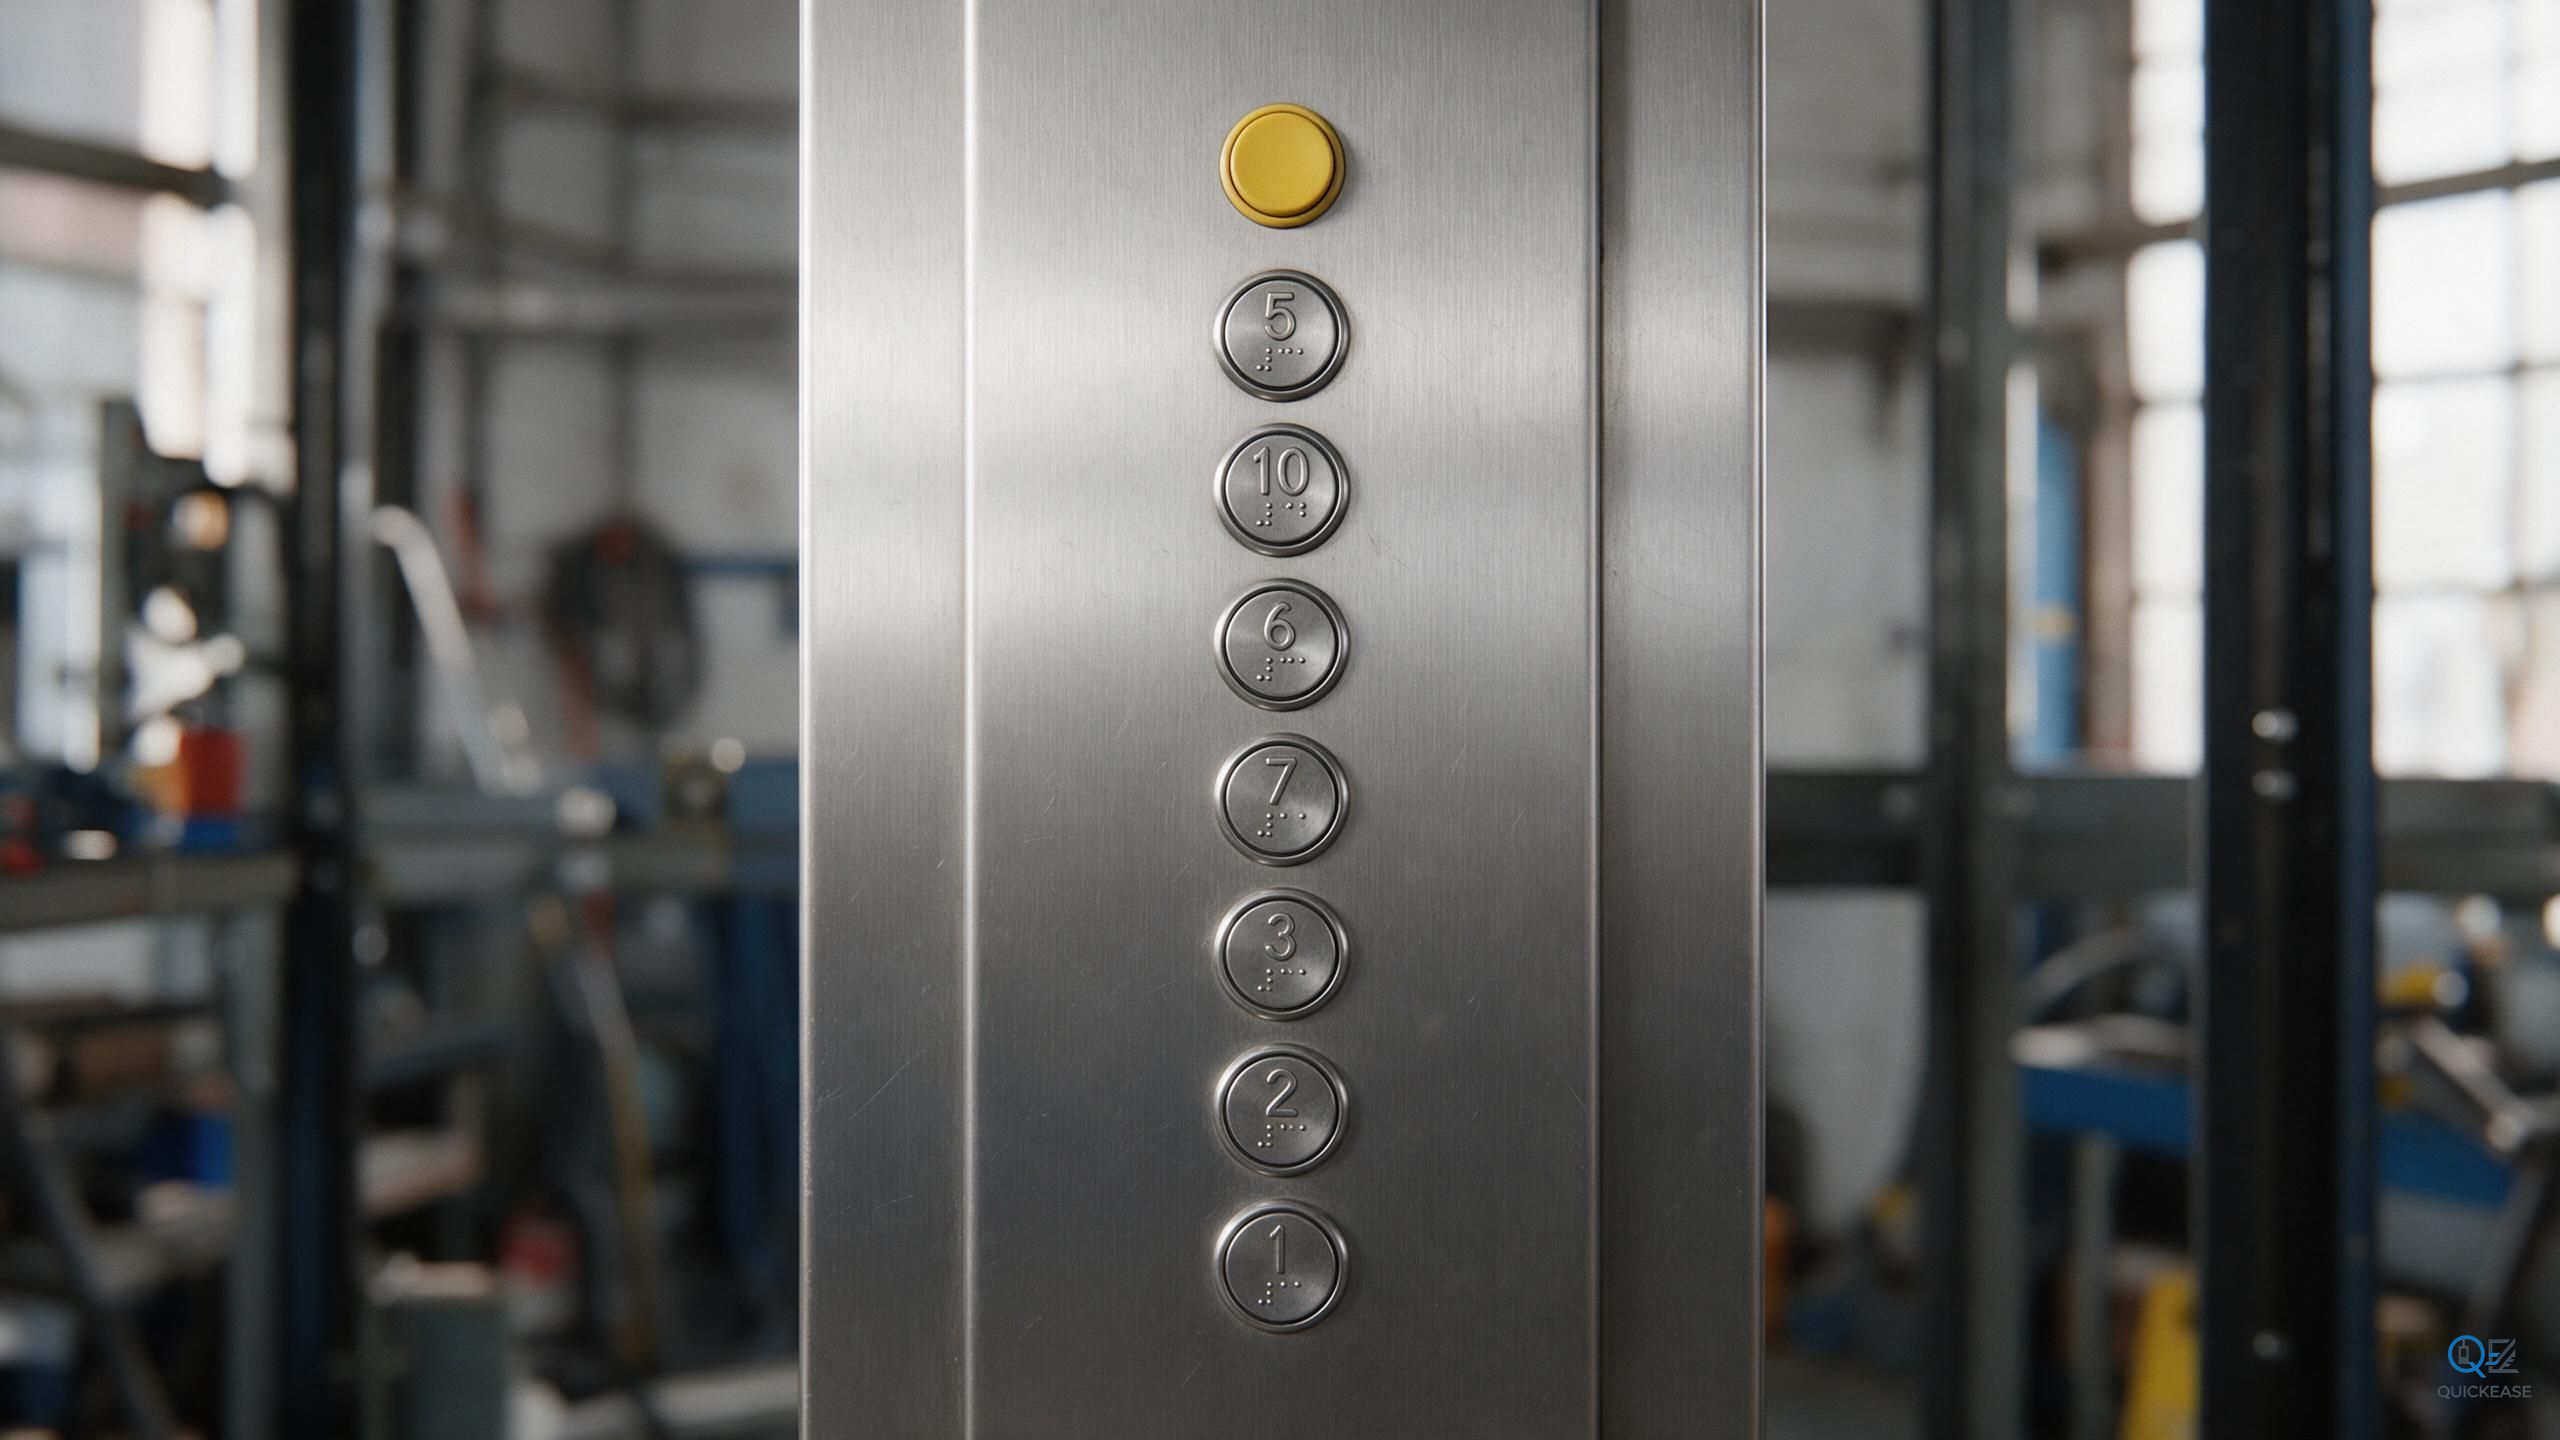
A property manager calls and says the buttons in the car are worn, some are not lighting, and the panel looks dated. Simple job, twenty buttons, two hours. Then the technician takes the panel apart and finds a ribbon cable, a small board behind each button, and no voltage marking anywhere.
Button retrofits fail on details, and the details are almost never the button face. They are what is behind it.
Start with the system type. There are two kinds of car panels in the world. Discrete panels wire every button back to a terminal strip, one wire per button plus a common, and the controller reads each one as a dry contact. Serial panels put a small board behind each button, or one board for the whole panel, and the buttons talk to the controller over a two or four wire bus. On a discrete panel you can replace one button. On a serial panel, replacing a button usually means replacing the board in it, and that board has an address, set by a DIP switch, a jumper, or a programming tool.
If you see only two or four wires going to a group of buttons, stop and treat it as a serial system. Photograph the board, the DIP switches, and the cable connector. On these systems the "button" is a mechanical cap over a tactile switch on a PCB, and the cap has to match the switch footprint, the height, and the light guide. Buying a bag of caps from a different family gets you caps that do not clip.
Voltage is the second trap. Car buttons run on 12 V, 24 V, 48 V, sometimes AC, sometimes DC, sometimes through a resistor in series with the LED. If the panel has a transformer and a rectifier, the buttons may be AC even though there is a DC supply somewhere. Measure across a lit button while it is lit. Then measure the voltage with the button pressed, because some systems drop a resistor into the circuit and the open-circuit voltage tells you nothing.
LED polarity matters on DC panels. Put an LED in backwards and nothing happens, which is obvious. Put an incandescent-rated socket in a DC circuit and you get a button that dims over a year as the filament ages. If you are replacing lamps with LEDs, check whether the controller senses the lamp current; some older controllers use the lamp as part of the circuit and an LED with too little current will look like a missing button.
Contacts. Discrete buttons are normally open, momentary, and share a common. Some are normally closed for the alarm or the door open button on certain controllers. Some controllers scan the buttons in a matrix, which means the common is not a common at all but a strobe line. If you replace one button in a matrix panel with a button that has a different contact resistance, the controller may register two buttons at once. This is rare, but it is exactly the kind of thing that makes a technician doubt his own wiring for a whole afternoon.
The physical side. Measure the mounting hole with a caliper, not a ruler. Measure the bezel diameter, the depth behind the panel, and the distance from the button center to the edge of the panel. Depth is the one people forget: a vandal-resistant stainless button with a deep body will not fit into a shallow COP, and a 5 mm difference is enough to make the panel impossible to close.
Accessibility rules apply to new installations and are increasingly applied to major retrofits. EN 81-70 asks for tactile markings, illuminated buttons, and a defined height range for the car panel; the alarm button gets the bell symbol and a contrasting color. If the building is a public one, do not remove the braille when you change the caps. Embossed braille sits on or next to the button, usually below it, with a standard dot spacing. Getting the dots right is a specialist job; most suppliers will engrave the legend and the braille to your text if you ask.
Legends and layout. Count the buttons properly. On a ten-stop car you need ten floor buttons, door open, door close, alarm, and sometimes a fire service keyswitch, an attendant switch, and a fan switch. Arrow direction for door open and door close is standardized within a region but not between regions, and clients notice. Send the supplier a photo of the old panel face, the car station drawing if it exists, and the exact text for any non-standard legend. "B1", "G", "M", "R", "PH" all mean something different in different buildings.
Then the small parts that decide whether the job looks professional: the screws. Most COP panels use security Torx or a proprietary fastener, and the originals are often missing or stripped. Order the fasteners with the buttons.
Test before you close the panel. Press every button and watch the indicator on the controller, not just the LED in the button. Run the car to every floor, check the door open and close buttons, and check that the alarm reaches the intercom. Then check for ghosting: with all buttons released, look at the controller input LEDs. If one flickers, you have leakage current through an LED or a shared common, and the fix is a resistor or a different button variant. Ghosting shows up as a car that stops at a floor nobody pressed, and it will be blamed on the controller.
If you cannot identify the system, take four photos and send them: the panel face, the back of one button, the terminal strip with the wires in place, and the controller input board. That is usually enough to tell a supplier whether you need a cap, a button, a board, or a whole panel, and it saves the return freight on twenty pieces of the wrong thing.