
Replacing a VVVF door controller when parameters are lost
October 29, 2026
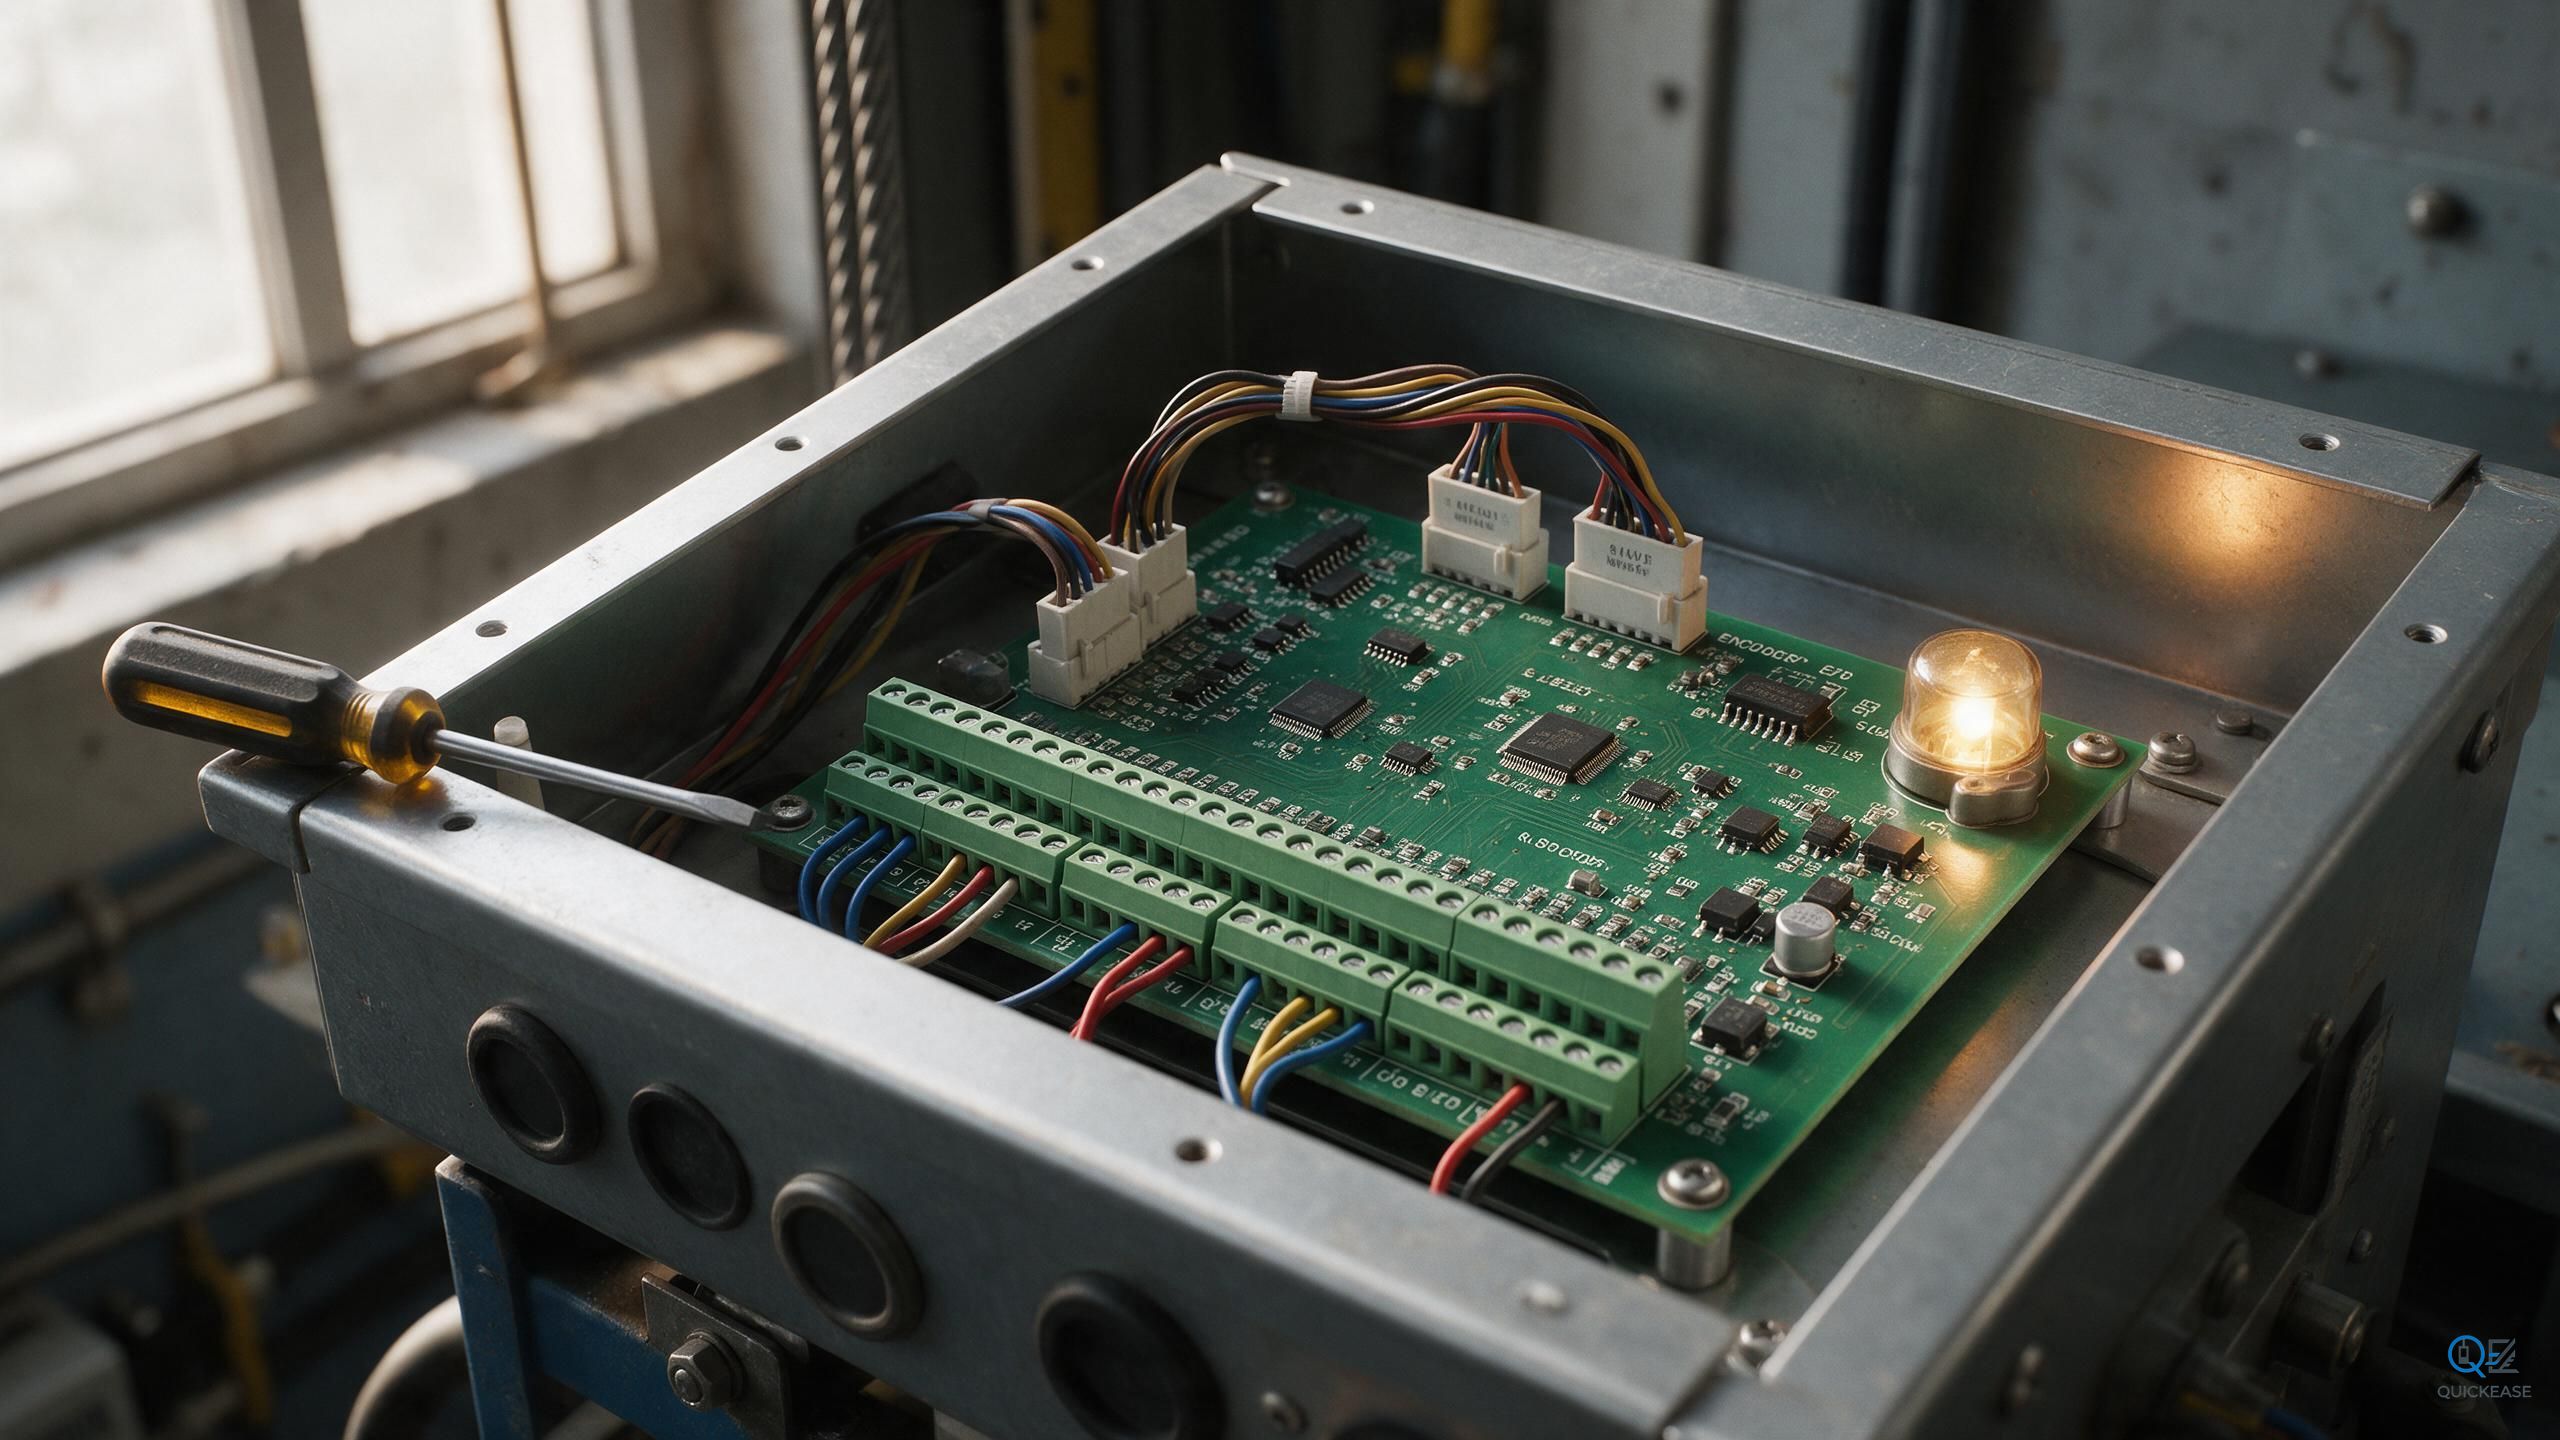
The controller is dead. The board has a burn mark near the power stage, the original supplier has been out of business since 2016, and the parameter sheet that used to live in the machine room went missing with the last contractor. All you have is the motor, the encoder, two limit switches, and a door that has to work by Friday.
This is doable. A modern VVVF door controller learns most of what it needs, and the rest you can measure. What you cannot do is press the learn button and hope. Half the controllers I have seen damaged were damaged during a learn cycle that ran on a door that was not ready for it.
Start with the motor and the feedback, because those two decide whether the controller can run at all. Count the motor phases: three means a VVVF drive, and the controller has to be matched to the motor's rated voltage and current, not just its frame size. A 0.5 kW permanent magnet door motor and a 0.5 kW induction motor need different drive settings, and some controllers only support one of them.
Then the encoder. Most door encoders are incremental, two channels plus an index, 5 V supply, a few hundred to a few thousand pulses per revolution. Look at the label, or count the wires: five or six in a shielded cable is typical. If there is no encoder, the controller has to run in time-based mode, which is less precise but perfectly workable for a slow door. Do not buy an encoderless controller for a door that has an encoder unless you enjoy explaining why the door stops in a different place every cycle.
Direction is the first thing to verify after wiring, and it is the first thing people skip. With the motor disconnected from the door, or with the door on manual, jog the controller. If the door starts to close when you command open, stop immediately. Many controllers have a direction parameter, some require swapping two motor phases, and a few encoder types need the A and B channels swapped instead. Get this wrong on a learning run and the controller will drive the door into the jamb at full speed, because it believes it is opening.
Limits next. The controller needs to know where the door is at power-up. On units with limit switches, check that the switches operate before the mechanical stop, with 5 to 10 mm of travel left, and that both are clean and not bent. On units with an absolute encoder or a hard stop reference, the controller will find the stop itself during the learn run, which is fine as long as the stop is solid and the door is not binding.
Now the learn cycle. Every manufacturer's sequence is slightly different, but the logic is the same. Tell the controller the door type: center-opening, side-opening, two panels, four panels. Tell it the opening width if it asks. Then run the learn. The controller closes the door to the closed limit, opens it fully, measures the travel, and calculates the speed ramp from the width and the mass factor you entered. Some units run three cycles and average the result.
What goes wrong during learn, in order of frequency:
The door binds somewhere in the travel. The controller records a shorter width than reality and then overshoots on every later cycle. Fix the track, the sill guide, or the hanger before learning.
The light curtain trips during the learn run, because the installer is standing in the doorway. The controller records an incomplete cycle. Learn with the doorway clear and the curtain disabled if the controller allows it for commissioning.
The 24 V supply sags when the motor starts. The controller may reset mid-learn and keep a partial width. Check the supply with a meter during the cycle, and if it drops below 20 V, fix the supply first.
The encoder slips on its shaft, or the coupling is loose. The width comes out wrong by a few percent and the door creeps past the limit. Mark the encoder shaft and coupling with a paint pen after commissioning, and check the marks at the next service.
After the learn, run the door twenty times and watch. Listen for the deceleration into the open limit and the creep into the closed limit. If the door arrives at either end with a bang, the ramp is too steep or the limit is set late. If it arrives too slowly and the cycle time is unacceptable, raise the creep speed rather than the acceleration. Passengers notice acceleration, not top speed.
Then measure the closing force and the kinetic energy, because a new controller with default settings will often close faster than the old one did. Defaults are written for a 60 kg panel on a 900 mm opening. A 120 kg stainless panel on a 1200 mm opening needs different numbers. This is also the point where you discover whether the old controller was set up properly in the first place: if the old door was running at 11 J for years, matching the old behavior is not the goal.
Finally, write the parameters down. Print the sheet, sign it, and tape it inside the car operating panel or the machine room door. Photograph the parameter screens and put the photos in the building file. The next person to open that controller will be grateful, and it might be you in four years with the same missing sheet and the same Friday deadline.